Unity 5.6 Released!

Wohooooo. Not long after UE4 blew my mind with its massive patch notes, Unity has been upgraded to 5.6! While I still somewhat lament the inclusion of a more elegant way to update Unity, I am very much pleased with the potential of the update. It focuses on numerous things like better lighting, improved Vulcan support, mobile performance and the video player getting a significant boost (it can now play 4k!).

However, my main area of excitement is with the 2D pipeline. There seem to have been numerous improvements to 2D games, including a more advanced collision system and the ability for particle systems to interact with 2D objects. There have also been improvements to tessellation, sprite outlines and newly introduced sorting groups for sprite clipping!

This is great news and both will be something I will make sure to utilize in my university project and beyond! In particular, particle systems will be a ton of fun to play around with!

Game Prototyping Article 5

This weeks tutorial was intense. It made me remember a lot of the more intermediate programming practices I knew back in high school as well as teach me a lot of new concepts.

The goal was simple  – to create a moving object script, that would serve as a foundation for all moving units in the game. Taking advantage of inheritance, the core pathfinding would be the same and each different kind of character would have their own implementation of movement. This makes the code much more scalable and cleaner.

What was interesting was some optimizations in pace, for example have an inverse of the movetime so that we multiply instead of divide, which is more efficient in terms of computing power. I also had to refresh my knowledge on inheritance, singletons, layer masks and such. It also introduced a bunch of brand new concepts, such as protected virtual functions, which can be overridden by the inheriting classes. Another useful thing was passing in generic parameters, that can be defined and flexible. This was something that I had always wondered about but never quite knew how to implement.

No images this week, because I am kicking it into high gear and focusing on getting this tutorial done so I can begin work on my own game.

Game Prototyping Article 4

Today I finished the second part of the Level Generation in the Unity 2D Roguelike tutorial. The system works now and doesn’t look half bad! Using the algorithm from the previous post, it generates levels of increasing difficulty with progressively more and more enemies. It’ll definitely be a consideration for my own project, as a system like this could give a lot of replay value, without the need for actually designing the individual levels.

I also got a refresher on what Singletons are – and used it for the GameManager, as it is a persistent element that will be in each and every scene. I also saw how to elegantly assign all of the different sprite variations to an array – integral for rapidly working on a level generation system.

GameManager

The GameManager script that utilizes the BoardManager and is persistent throughout every level of the game. It’s initialized by the Loader script, which is part of the Main Camera.

Above: some of the generated levels with a marked difficulty 3.

Overall, a very productive tutorial and I am happy with the quick pace of it. Eager to learn more!

PS: I also upgraded to Visual Studio 2017, which for now has no discernible benefit apart from slightly better UI and build times.

Game Prototyping Article 3

This week I kept going with the Unity tutorial from the lectures. As per lecture 4, I finished the mario clone – which included learning about rudimentary AI (Enemy that follows player around) as well as working further on the different kinds of player control. It also included an enemy spawner.

Scripts

Some of the expanded scripts. Note that I have kept everything in the same project, expanding on it as I went through the lectures. uIntellisense has been great with having the Unity Scripting Reference always be a click away.

Mario

Mario clone level, with AI that walks towards the pipe and walks back + player that can jump and kill it.

My biggest takeaway from this lecture was to seek beyond for more information on tutorials. As I am still uncertain of what game to make, I have decided to take a gameplay oriented approach (contrary to my typical idea-crafting approach of creating and refining on paper and not touching a game engine until I have a 25 page GDD).

To do this, I decided to work on one of Unity’s own tutorials – the 2D Roguelike game, in the hopes that while making it, I will not only learn more about Unity but also get some ideas.

Prefabs

A bunch of prefabs, with various settings.

Layer Settings

An example player configuration – note the layers and tags, as well as the animations & kinematic Rigidbody2d.

Sprites

Some of the sprites in action in a default project canvas (idle animations working)

Completing the first three sections taught me about how to work with the Sprite Renderer in Unity. I assigned the character animations and changed their speed. I set up everything for the different states of the player and enemies. I was taught more about layers and tags and why they are crucial for a 2D game. I also created a lot of prefabs for the floor and item tiles that will be used to create the game.

All in all, it was a highly productive tutorial and though I don’t appreciate having to pause constantly on the videos, the quickened pace means that I should be done with this game tutorial in only 3-4 sessions, allowing me to begin building something of my own.

The tutorial itself can be found here.


Game Prototyping Article 2

This week I did the second tutorial. It went over how to add character controls to an object. The implementation in the tutorial meant that a force was applied to the cube(player) and this is how we moved it. This mean that there was some delay in controlling it, due to the necessity for force to build up. It did, however, mean that there was inertia and it did behave more like an object being pushed around than a character.

Move_Code

Thankfully the uIntellisense plugin means that I can open up the Scripting Reference within VS2015 at any time. Here my adaptation of the practices from the Move example can be seen. It was mostly cleaning up the structure and use of the Vector3. This way I have a cleaner code layout and the effect I am looking for (rigid body movement)

We did have a look at Unity’s Character Controller implementation and while that is excellent for a game that requires precise controls (most games), when I tested it out it felt like the cube being knocked about was way more fun, so instead I merged the knowledge gained from the two tutorials. This way I had a cube that could move in all directions and “jump” but still had that fun and bouncy collision and inertia. Also did a bunch of testing with regards to what sort of balance of force made it the most fun.

This made me think of making a game that takes advantage of Unity’s in-built physics simulation, as even knocking a single cube into other objects was pretty fun. I’ll have to think about it more.

Game Prototyping Article 1

This is the first post for my Game Prototyping module (DES304). I have admittedly slacked off and now only have two months until the project deadline. The aim is to have documentation and a working prototype for a game in Unity. To achieve this I will be aiming to do tutorials and an associated blog article every Friday until 2 weeks before submission. Thankfully, I have had experience with programming and have done some small prototypes in Unity as well as some scripting, so hopefully coming to grips with Unity 5.x and creating stuff in it won’t be too difficult. However, it must be mentioned that my last prototype was done almost 2 years ago and I have also had no programming practice since then. This, combined with the limited time frame, along with other courseworks, a job and personal  projects/jams/competitions means that I will have to work double time.

On to the prototype itself. In the first week we got taught the basics of the Unity editor as well as some simple scripting to move a cube around. What I liked about it that it showed an alternate clever way to implement recognizing inputs that lets Unity handle figuring out what kind of input device it is. If this really works as efficiently as it seems, it really is a clever way of coding your game to be (as close as it can be to) input device independent. For now, all the cube does is move left and right according to user input. I do like that it was immediately pointed out to use Delta Time in order to make actions framerate independent. This gives me a lot of faith in the tutor and the course, especially considering that some games made in 2017 still haven’t figured this out… (Hell, even the Dark Souls/Demon’s Souls games suffered from this).

Wk1_Cube

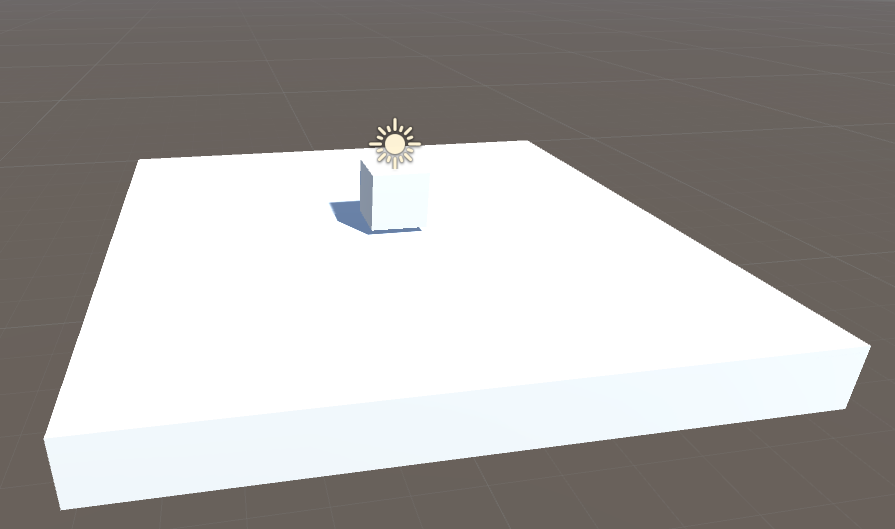
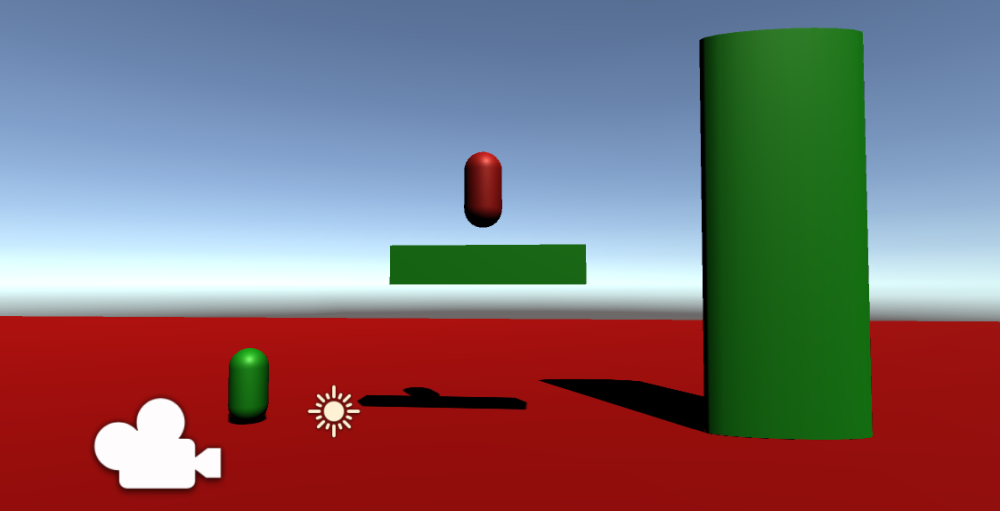
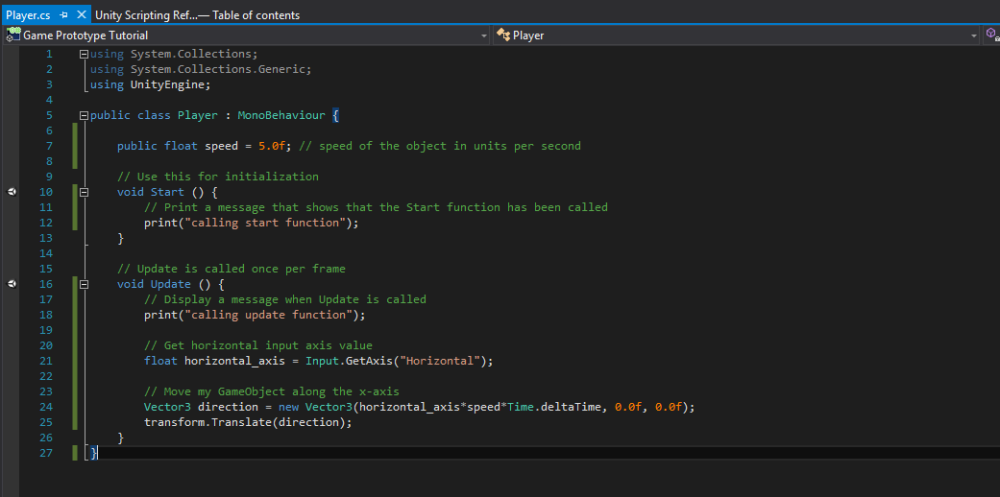
Week 1 tutorial – moving a cube left and right using a Vector3 and Input device- independent controls. Not a bad start.

In terms of ideas for what my game will be… Hmm… I did always want to expand on an idea for a Vlambeer-inspired space invaders action game. However, that is 2D and while it is very focused on delivering a satisfying experience I am somewhat afraid that it will be slammed for being iterative, as the description notes that games should ideally do something “different”. I have a feeling that some weird hipster janky mess of a game would still score higher based on creativity alone. There is still a high likelihood of me sticking to my idea and simply thinking of how to expand it in creative ways… Especially since I love the concept of game feel and making something very satisfying and tactile to play.

Alternate game ideas that I’ve had include making a 2.5D combat platformer with waves of enemies coming in and a very simple rock-paper-scissors combat style mechanic using shields, swords etc.

My other idea is to simply make a mobile game where you are the god of wind and you need to maneuver a little woodland spirit by blowing gusts of wind with your fingers and going through different paths with obstacles.

Which one I stick with in the end will entirely depend on which one inspires me to work the most and also how much time I have. because some of these a re far more feasible than others, given my limited artistic proficiency and all my other side projects.

VS_2015

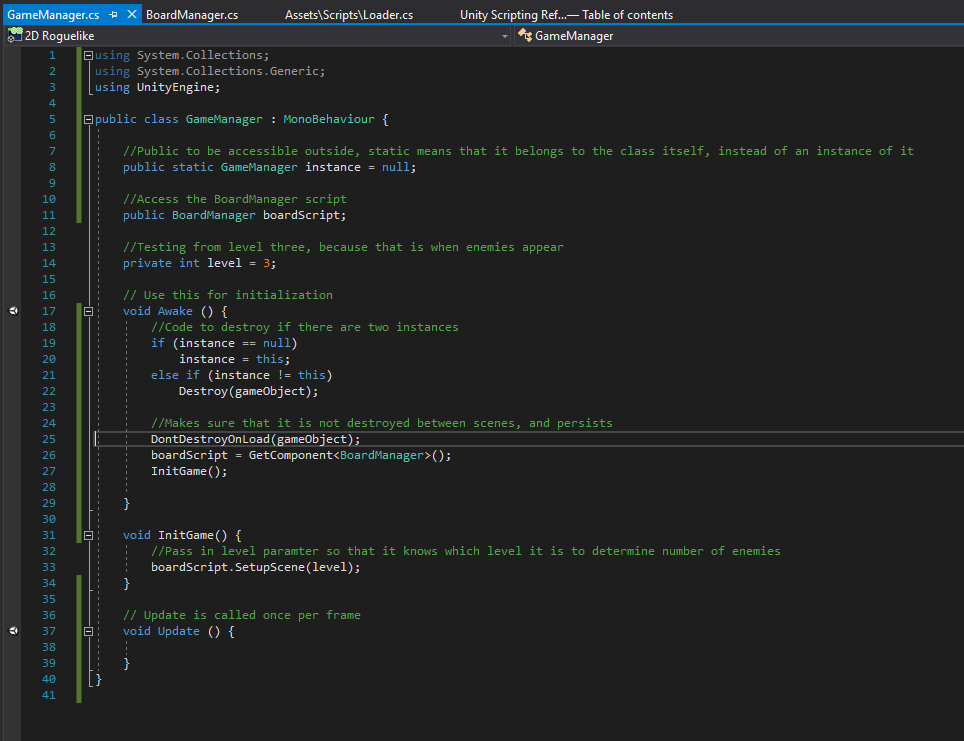
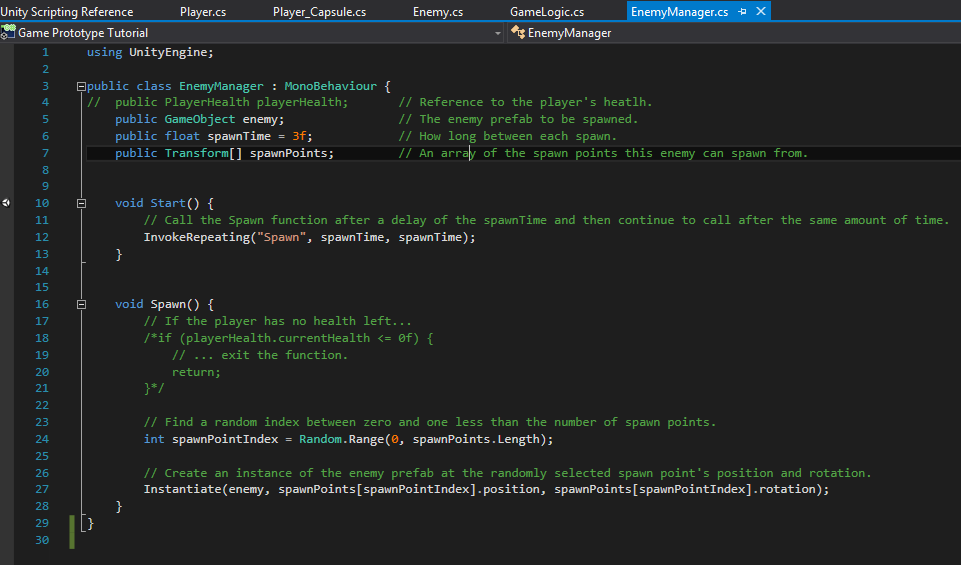
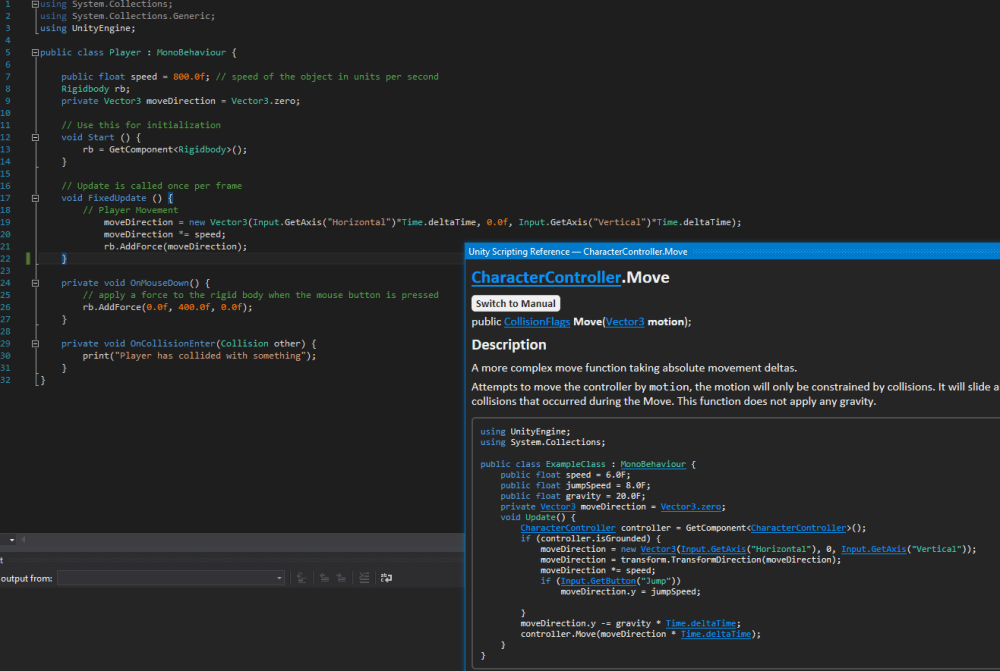
My VS2015 setup – sleek, dark and efficient

The good thing is that I have updated my setup so I have the latest Unity version, two monitors working (for optimal tutorial viewing) and have setup VS2015 (I don’t fancy MonoDevelop as much) with the uIntellisense plugin, which gives me the full scripting reference built-in.